
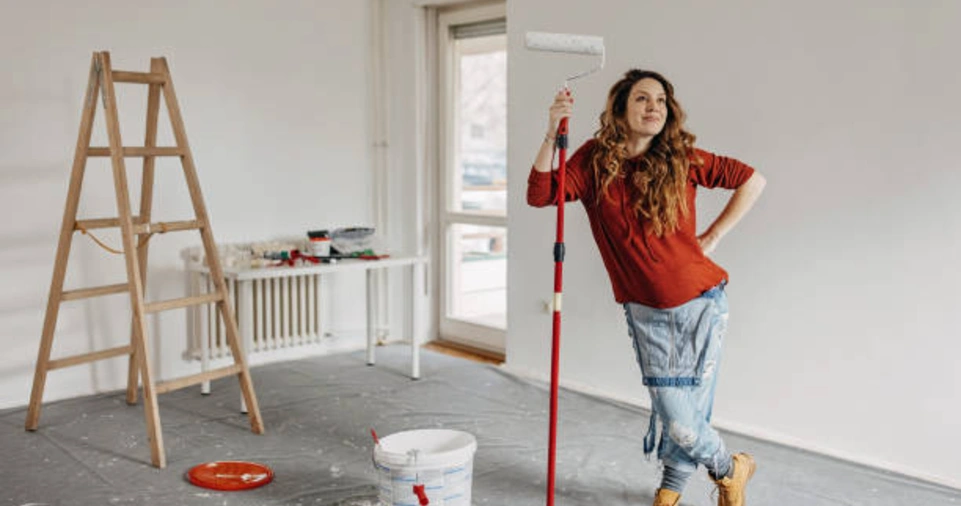
Painting a room may seem straightforward, but doing it like a professional requires attention to detail, proper preparation, and the right tools. Whether you’re freshening up your home or transforming a space, painting can dramatically change the look and feel of any room.
In this comprehensive guide, you’ll learn how to paint a room like a pro, from planning to the final coat.
Benefits of Painting a Room Yourself
- Cost-effective: Saves on labor costs.
- Customization: Total control over color and finish.
- Satisfaction: Pride in a job well done.
Tools and Materials You’ll Need
| Tool/Material | Purpose |
|---|---|
| Paint | Main material for coloring walls |
| Primer | Ensures paint adheres and color is true |
| Paint rollers | Covers large areas quickly |
| Angled brush | Cuts in edges and corners |
| Painter’s tape | Protects trim and creates clean lines |
| Drop cloths | Protects floors and furniture |
| Sandpaper | Smoothens surfaces |
| Putty knife | Fills holes and cracks |
| Paint tray | Holds and distributes paint evenly |
| Ladder | Reaches higher walls and ceilings |
Step 1: Choose the Right Paint
Consider:
- Finish: Flat for ceilings, eggshell or satin for walls, semi-gloss for trim.
- Color: Test samples on the wall to observe under different lighting.
- Type: Water-based (latex) is easier to clean than oil-based paint.
Step 2: Prepare the Room
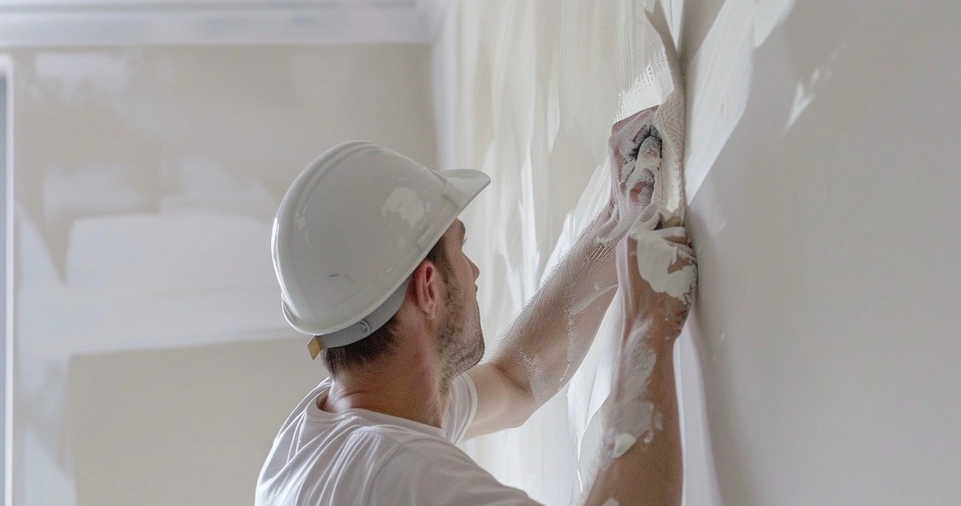
- Clear the Room: Remove furniture or move it to the center and cover with drop cloths.
- Clean Surfaces: Wash walls to remove dust, grease, and grime.
- Repair Imperfections: Use spackle or putty to fill holes and sand smooth.
- Tape Off Areas: Use painter’s tape on trim, ceilings, and outlets.
Step 3: Prime the Walls
Priming is essential for:
- Covering stains or dark colors
- Improving paint adhesion
- Enhancing color vibrancy
Let the primer dry fully (usually a few hours) before painting.
Step 4: Cut in Edges
Use an angled brush to paint around trim, corners, and ceiling edges before using a roller. This technique ensures a cleaner, more professional look.
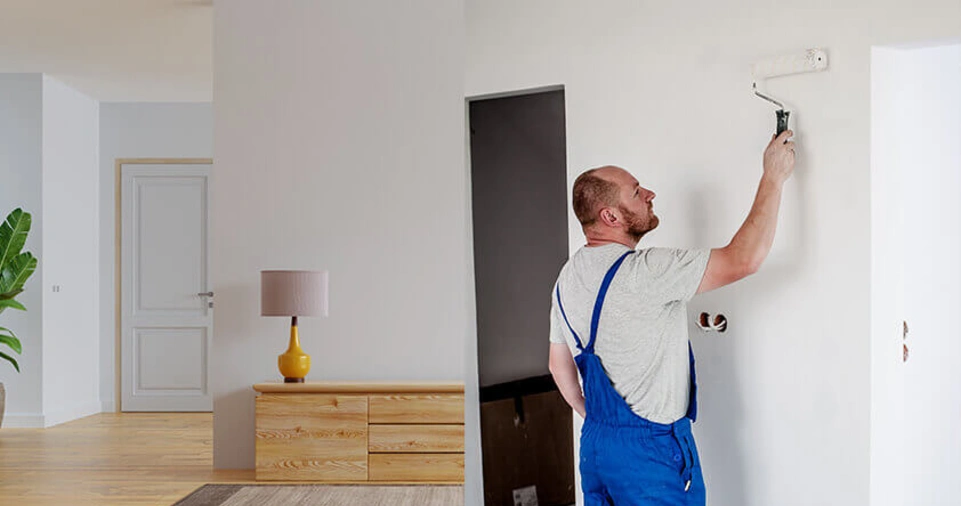
Step 5: Roll on Paint
- Start in a corner and work your way across the wall.
- Use a “W” pattern to distribute paint evenly.
- Don’t overload the roller to avoid drips.
- Apply 2 coats for best coverage, allowing drying time in between.
Step 6: Remove Painter’s Tape
Remove the tape while the paint is still slightly damp to prevent peeling.
Step 7: Touch Up and Clean Up
- Touch up any missed spots or uneven areas.
- Wash brushes and rollers if you plan to reuse them.
- Remove drop cloths and reassemble the room after paint dries completely.
Tips for a Professional Finish
| Tip | Why It Matters |
|---|---|
| Don’t skip prep work | Creates a smoother, longer-lasting result |
| Invest in quality tools | Helps achieve better coverage and fewer drips |
| Paint in natural daylight if possible | Ensures true color and even application |
| Work top to bottom | Avoids streaks and smudges |
| Ventilate the room | Speeds up drying and reduces fumes |
Advanced Techniques to Consider
- Accent Walls: Add depth and visual interest by painting one wall a different color or finish.
- Color Blocking: Use painter’s tape to create geometric designs for a modern, stylish effect.
- Two-Tone Walls: Paint the bottom half one color and the top half another. Add a chair rail for a traditional touch.
- Textured Painting: Use special tools like sponges, rags, or brushes to add texture to walls.
Safety Tips
- Always wear old clothes or a painter’s apron.
- Keep the room well-ventilated.
- Use a stable ladder when reaching high areas.
- Keep paint and tools away from children and pets.
Mistakes to Avoid
| Mistake | Solution |
|---|---|
| Skipping primer | Use primer to ensure smooth, even color |
| Painting over dirty walls | Clean walls thoroughly before starting |
| Using cheap tools | Invest in brushes and rollers for better results |
| Not letting coats dry completely | Allow proper drying time to avoid streaks |
| Rushing the process | Take your time for a professional finish |
ALSO READ: How to Build Your Own Website?
Conclusion
Painting a room like a pro involves more than just applying paint. It requires proper preparation, choosing the right tools and materials, and following each step carefully. By taking your time and paying attention to detail, you can achieve a beautiful, professional-quality finish that enhances your living space.
Whether you’re changing the mood of a room or giving it a fresh update, painting is one of the most cost-effective home improvements you can do yourself. Now that you know how to paint a room like a pro, it’s time to grab your tools and get started.


